How to Send Photos from iPhone to Computer: A Step-by-Step Guide
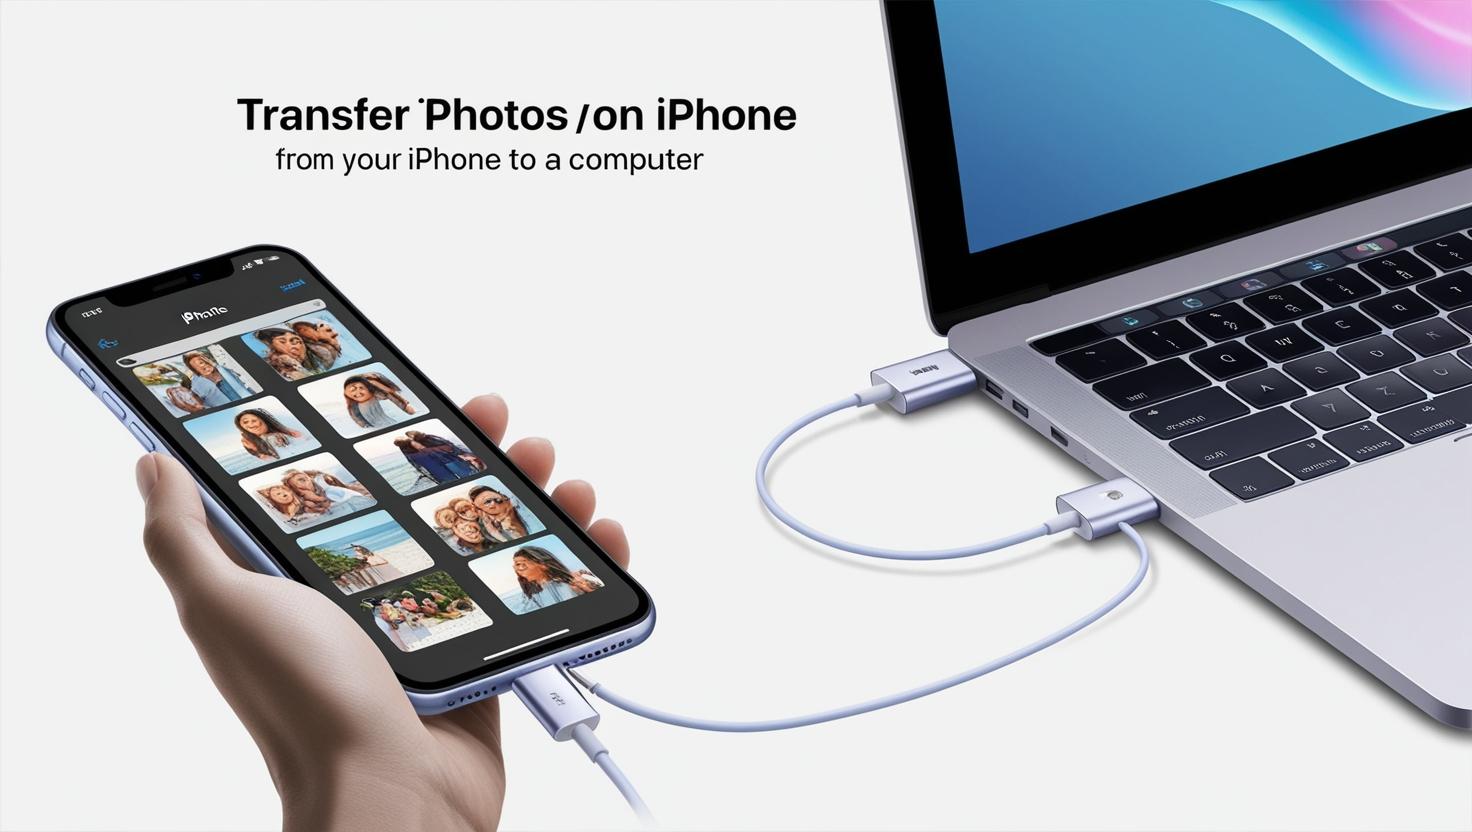
Transferring pictures from your iPhone to the computer is something important in keeping up free space in your storage or simply in backing up cherished memories or sharing files more easily. In this guide, several easy methods for moving photos will be covered regardless of whether you use a Windows PC or a Mac.
You could be prompted on your iPhone to Trust This Computer. Tap “Trust.”
Open the Photos App:
- In your computer, open the Photos app.
- Click Import in the top right and select From a USB Device.
- Your computer will automatically search for new photos and give you an option list that you can choose from.
Select and Import:
- Highlight the photos you want to import.
- Click Import Selected. Now, the pictures will be copied to your computer.
Transfer Photos to Mac through USB
Connect iPhone:
- Open your iPhone by using a USB or USB-C cable to the Mac computer.
Open Photos App:
- The Photos app should have started automatically. It can also be found in the Applications folder or through Spotlight Search. Click on Import in the menu.
Select and Import Photos:
- Select the photos you want to import and click Import Selected.
- You can also select importing of all photos by clicking Import All New Photos.
Transfer Photos with AirDrop (Mac)
The transfer of pictures wirelessly from an iPhone to a Mac is efficient via AirDrop. Here is how it’s done:
How To Transfer Photos Using AirDrop
Enable AirDrop :
- Switch on Bluetooth and Wi-Fi on your Mac. Open Finder > Go > AirDrop and ensure that you’re allowing your Mac to accept files from Contacts Only or from Everyone
On your iPhone:
- Open Control Center by swiping down from the top right part of the screen. Locate AirDrop and select that. Open Photos on Your iPhone:
- Open the Photos app. Select the photos you want to transfer.
Share via AirDrop:
- Tap the Share icon, then tap AirDrop, then select your Mac from the list of nearby devices.
- On your Mac accept the photos when prompted. They will automatically be transferred to your Download Folder by default.
Using iCloud Photos
iCloud Photos shares your photos across all your Apple devices, and lets you view them on any computer with internet access too.
- Turn on iCloud Photos on Your iPhone
- Settings > [your name] > iCloud > Photos
- iCloud Photos
Access iCloud Photos on Your Computer
For Windows:
Install iCloud for Windows
- Sign in with your Apple ID and enable Photos. Your photos will now appear in a folder called iCloud Photos
On Mac:
- Open the Photos app, and you will find that your iCloud Photos are auto synched.
Transfer Photos Using Third-Party Apps
Although there are myriad third party apps allowing transferring of photos, the following are a few examples:
- Google Photos: Upload the photos to cloud and view from computer.
- Dropbox: Share and transfer files on other devices, including photos.
- Send Anywhere: Transfers files wirelessly; relatively fast.
Troubleshooting Tips
Troubleshooting Tips to Resolve iPhone Photo Transfer Issues
- These are some general troubleshooting steps to resolve any issues you may encounter while transferring iPhone photos.
- Keep Your Device Unlocked During Transfer: Ensure that your iPhone remains unlocked from beginning to end.
- Check USB Connection: Use a tested USB cable to avoid compatibility issues
- Update softwares: Both computer and iPhone must have the latest softwares
- Using any of these, you should be able to transfer photos from iPhone to your computer easily and quickly. Just choose the best one for you, and enjoy managing files!
- But to ensure this process goes as smoothly as possible between your iPhone and your computer, here are some extra tips and best practices to keep in mind:
Regular Backups and Organization
Organize Photos by Folders:
Once transferred, organize your photos into folders on your computer. That will enable you to more easily find a specific photo when you need it, and not clutter your computer.
Regular Backups:
To prevent the loss of precious moments, upload your photos to an external storage device or to a cloud service to be updated regularly. This means you are assured, should the equipment fail.
Clear Up Storage on iPhone
When you always find that space on your iPhone gets exhausted frequently, uploading your photos to your computer regularly is recommended. The following tips clear storage:
Use iPhone Optimize Storage Feature:
Go to Settings > [your name] > iCloud > Photos and turn on Optimize iPhone Storage. This way, your iPhone will store more compact versions of the photos while keeping the originals in iCloud.
Delete Duplicates and Unused Photos:
Do this while transferring for sure, erase duplicates, blurry images, or pictures that don’t make you smile.
Transfer Photos with Google Photos or Other Cloud Services
Besides that, there are plenty of cloud storage where you will be able to move your photos easily across all your devices. One of which is Google Photos. It is free and paid versions. Here’s how you do it:
Download the Google Photos App;
You get it from the app store, install, then log in using a Google account.
Backup Photos Automatically:
Head over to the settings of the app and enable Backup & Sync. You will see automatically upload your photos to your Google account.
View Photos on Computer
Open photos.google.com on your computer. You can view, download or share the photos as you want.
Using Email for Quick Transfer
You could also use email if you only need to transfer a few photos quickly. How to do it?
Select photos on iPhone:
Go to the Photos app, select the photos you want to share, and tap Share.
Mail Option
Tap Mail, then tap in the To field to enter your email address. Now tap send to finalize your email
Download to Your Computer
Open up your email on your computer and download the attached photos
Conclusion
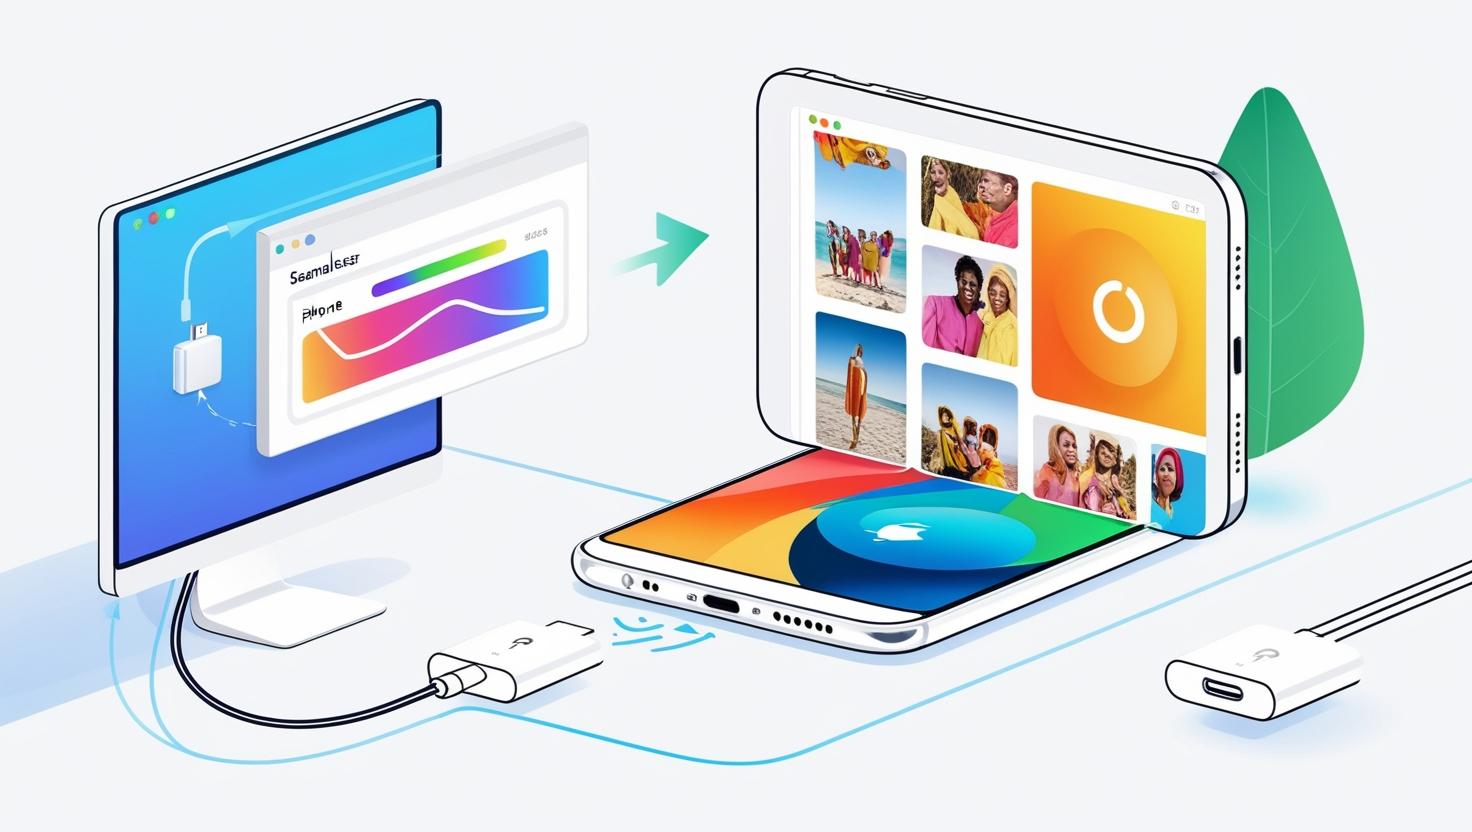
The good news is that you can transfer photos from your iPhone to a computer in so many different ways, such as through transferring files over a USB cable, wireless solutions such as AirDrop, or even cloud services like iCloud and Google Photos. Do this regularly and this frees up space on your iPhone, yet you cannot lose those memories, as they are well stored and quite accessible for viewing. These options and tips give you the choices and make sure you can pick the most convenient method for your needs and make managing your photos a breeze.
Remember, organizing and maintaining a backup of your photos will save you time and effort later on. The best time to think about photo management is right now, ensuring all your favorite memories remain within reach whenever you need them.


